Frame-A-Face
Online Help Pages
- Frame-A-Face Interface
- Original Image Preview
- Menu File
- Menu Edit
- Menu Presets
- Crop Guides Menu
- Menu View
- Menu Help
- Crop Setup Panel
- Presets In Details
- Templated Export
- Workflow Automation
- Preferences: General
- Preferences: Presets
- Preferences: Automation
- Register Program
- Customised Workflow
Templated Export
When you export cropped images, the program saves each crop into a separate file.
If you intend to print small ID photos, it can be handy to combine several small photos on one large page and print these big pages instead of a bunch of separate small images.
Here is an example of a combined page:

These are two four-photo sets prepared to be printed on one page. Note the thin guide lines for cutting out separate photos and file names printed beside the images.
Use Templated Export to save your images that way.
Open Templated Export from the File menu and select the appropriate template.
Each menu bar has a small template icon and a short description.
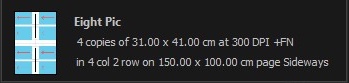
The icon’s white rectangle shows paper proportions, the blue rectangles show individual photos, and the red arrows point to the photos’ tops.
By default, there are only a few templates. Use the Write / Read from text file procedure to design your own templates adjusted to your printer hardware and available paper.
Manage Printer Templates opens additional menu sets:
Write Templates To File - This exports Print Templates as a plain text file. You may manually edit this text in any text editor, edit or rename existing templates, create new templates, remove unneeded ones, and sort templates in a more suitable order. See Templates In Details for more info.
Read Templates From File - This imports templates from a plain text file. It reads and replaces all templates. If you want to edit only one template, you have to export all templates, edit the one that you want to modify, and import the edited file.
Save test page for template - This exports a test page with grey rectangles as images, all sets of guide lines, and overprinted template settings as they are in the template text file. Here is an example of a test page for the two four-photo sets page above.
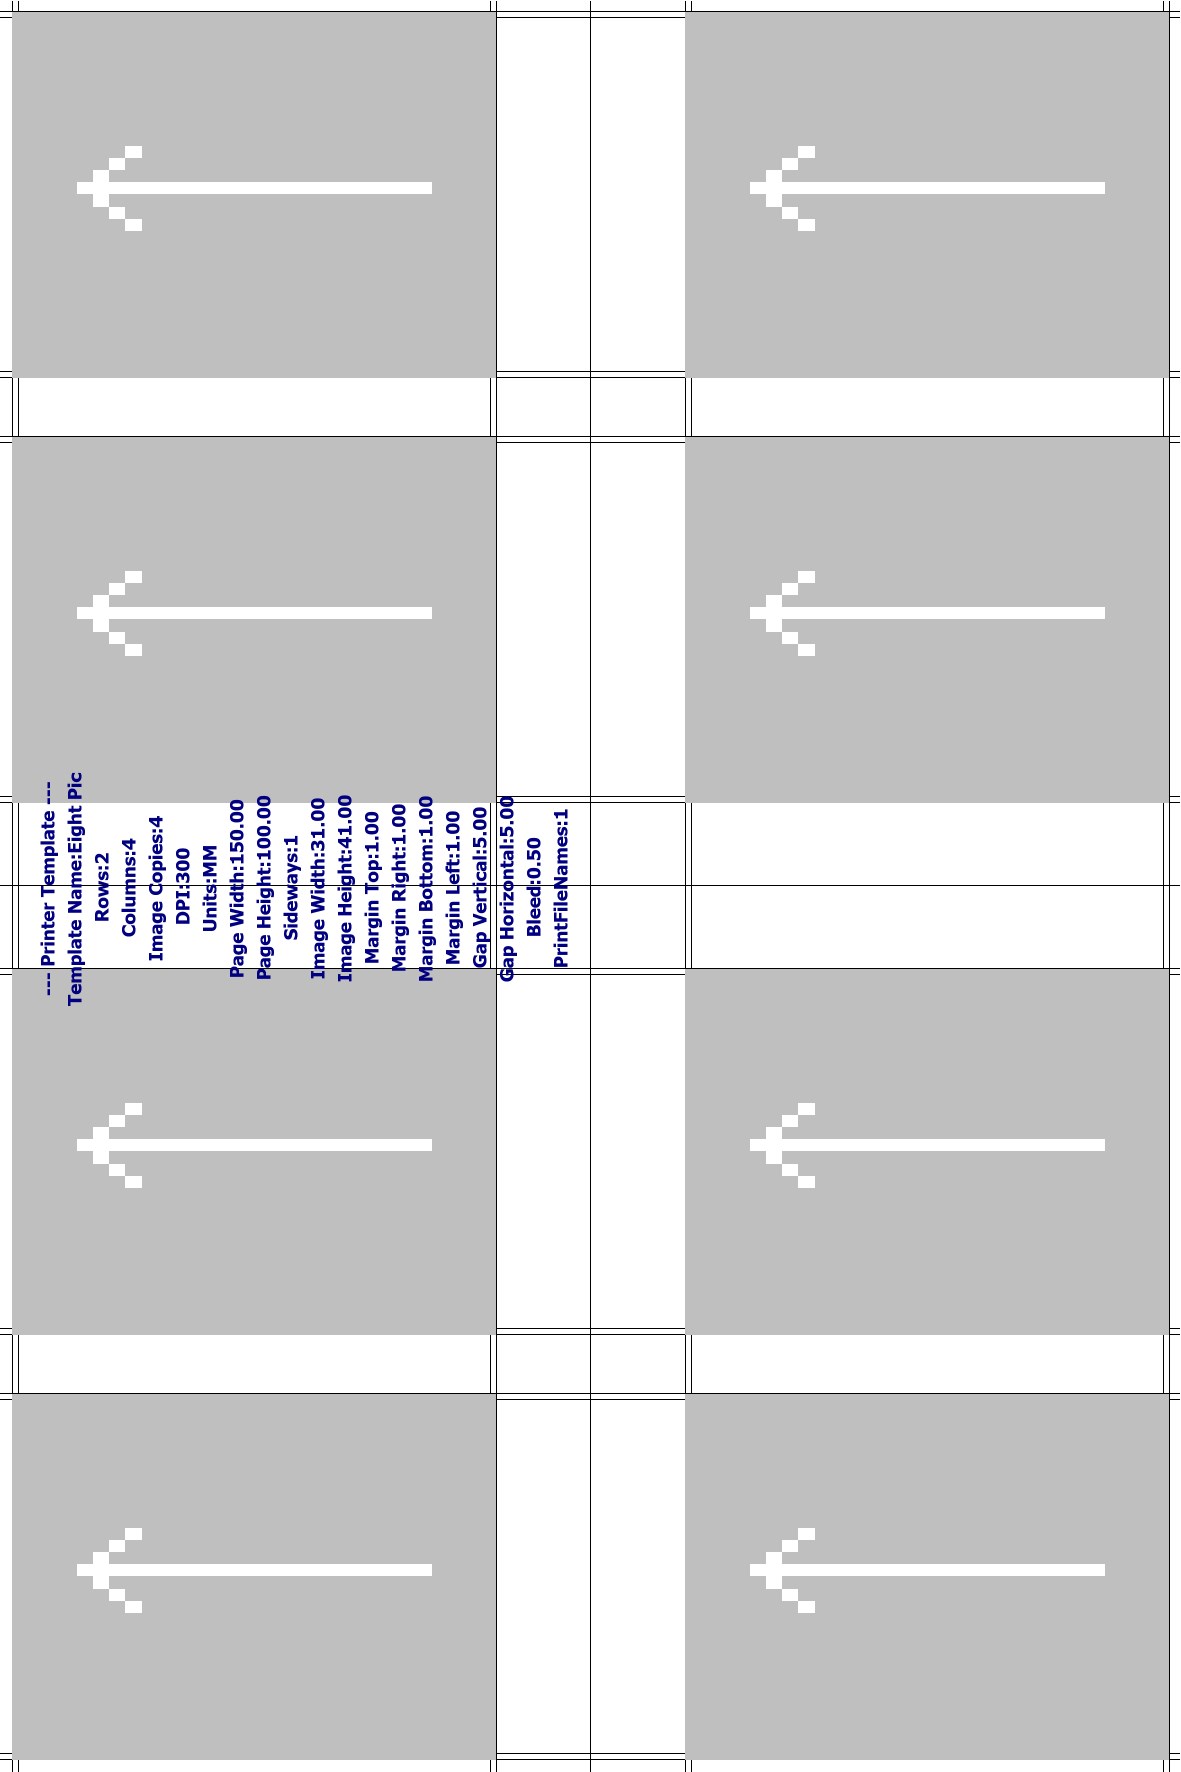
You may want to print this test page with your printer to verify that nothing is missed because of the printer hardware margins; and sizes of the printed photos are the same as they were designed.